

Hey there! I'm a supplier of white jute bags, and I've seen my fair share of torn jute bags over the years. Jute is a great natural fiber, but it can get damaged, especially if it's been used a lot. In this blog, I'll share some tips on how to repair a torn white jute bag. Whether you're a customer who wants to fix your beloved jute bag or a business looking to extend the lifespan of your jute products, these steps will come in handy.
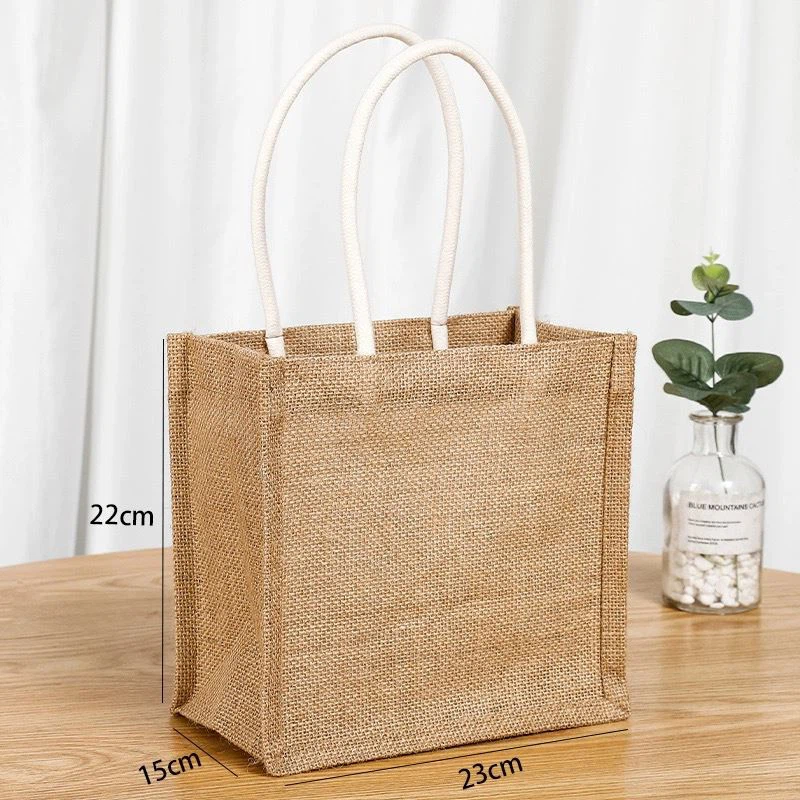

Step 1: Assess the Damage
The first thing you need to do is take a good look at the tear. Is it a small, clean cut, or is it a large, ragged tear? This will determine the best way to repair it. For small tears, you might be able to get away with a simple fix, while larger tears will require more work.
If the tear is along the seam, it's usually easier to repair than a tear in the middle of the fabric. Seams can often be resewn, and you can use a bit of extra thread to reinforce the area. On the other hand, tears in the middle of the fabric might need a patch to cover them up.
Step 2: Gather Your Materials
Once you've assessed the damage, it's time to gather the materials you'll need for the repair. Here's a list of what you might need:
- Needle and thread: Choose a thread that matches the color of your white jute bag as closely as possible. You can find jute thread at most craft stores, or you can use a heavy-duty cotton thread if you can't find jute thread.
- Scissors: You'll need a sharp pair of scissors to cut the thread and any excess fabric.
- Patch material: If you need to patch the tear, you'll need a piece of jute fabric that's the same color and texture as your bag. You can use a scrap piece of jute from another bag or buy a small piece of jute fabric from a craft store.
- Glue (optional): For small tears, you can use a bit of fabric glue to hold the edges of the tear together before sewing. This can make the sewing process a bit easier.
Step 3: Prepare the Tear
Before you start sewing, you need to prepare the tear. If the edges of the tear are frayed, use your scissors to trim them off so that they're clean and straight. This will make it easier to sew the tear closed.
If the tear is in a curved or irregular shape, you might need to make some small cuts along the edges of the tear to help it lay flat. Just be careful not to cut too much, or you'll end up with a bigger hole.
Step 4: Sew the Tear
Now it's time to start sewing. If the tear is small, you can use a simple running stitch to sew it closed. Thread your needle and tie a knot at the end of the thread. Start at one end of the tear and insert the needle through the fabric on one side of the tear. Then, bring the needle up through the fabric on the other side of the tear, about 1/8 inch away from the first stitch. Repeat this process until you've sewn the entire length of the tear.
For larger tears, you might want to use a more decorative stitch, such as a backstitch or a whipstitch. These stitches are stronger and more durable than a running stitch, and they can also add a bit of visual interest to your repair.
If you're using a patch to cover the tear, place the patch over the tear and pin it in place. Then, use a running stitch or a decorative stitch to sew the patch to the bag. Make sure to sew around the edges of the patch, as well as any seams or folds in the patch.
Step 5: Reinforce the Repair
Once you've sewn the tear closed, it's a good idea to reinforce the repair to make it more durable. You can do this by sewing a few extra stitches around the edges of the tear, or by using a bit of fabric glue to hold the edges of the tear together.
If the tear is in a high-stress area, such as the bottom of the bag or the handles, you might want to add a layer of interfacing or batting to the inside of the bag to reinforce the area. This will help prevent the tear from reopening in the future.
Step 6: Finish the Repair
After you've reinforced the repair, it's time to finish it off. Trim any excess thread or fabric, and use a bit of sandpaper or a file to smooth out any rough edges. You can also use a bit of fabric softener or conditioner to make the repaired area feel softer and more comfortable.
If you're happy with the repair, you're done! Your white jute bag should now be good as new. If you're not happy with the repair, you can always try again or take the bag to a professional tailor or seamstress for help.
Tips and Tricks
- Test the thread: Before you start sewing, test the thread on a small, inconspicuous area of the bag to make sure it doesn't leave any stains or discoloration.
- Use a thimble: Sewing through jute can be tough on your fingers, so it's a good idea to use a thimble to protect your fingertips.
- Be patient: Sewing a torn jute bag takes time and patience, so don't rush the process. Take your time and make sure each stitch is straight and even.
- Practice on a scrap piece of jute: If you're new to sewing, it's a good idea to practice on a scrap piece of jute before you start working on your bag. This will help you get a feel for the fabric and the sewing process.
Conclusion
Repairing a torn white jute bag is a simple and rewarding process that can save you money and extend the lifespan of your bag. By following these steps and tips, you should be able to repair your bag in no time.
If you're in the market for high-quality white jute bags, be sure to check out our selection of Jute Gift Bags with Handles, Jute Tote Bag, and Personalized Jute Tote Bags. We offer a wide range of styles and sizes to choose from, and we can even customize your bags with your logo or design.
If you have any questions or would like to place an order, please don't hesitate to contact us. We're always happy to help!
References
- "Jute: A Natural Fiber with Many Uses." The Spruce Crafts, https://www.thesprucecrafts.com/jute-fiber-4122270.
- "How to Sew Jute Fabric." Sewing Machine Plus, https://www.sewingmachinesplus.com/blog/how-to-sew-jute-fabric/.
- "Repairing a Torn Jute Bag." DIY Projects, https://www.diyprojects.com/repairing-a-torn-jute-bag/.