

Sewing the eyes and other features on hessian burlap stuffed animals can transform a simple fabric form into a charming and unique creation. As a hessian burlap fabric supplier, I've witnessed the endless possibilities that this versatile material offers in the world of stuffed animal making. In this blog post, I'll share some tips and techniques on how to sew the eyes and other features on hessian burlap stuffed animals, along with some insights into the benefits of using our high - quality burlap fabrics.
Why Choose Hessian Burlap for Stuffed Animals?
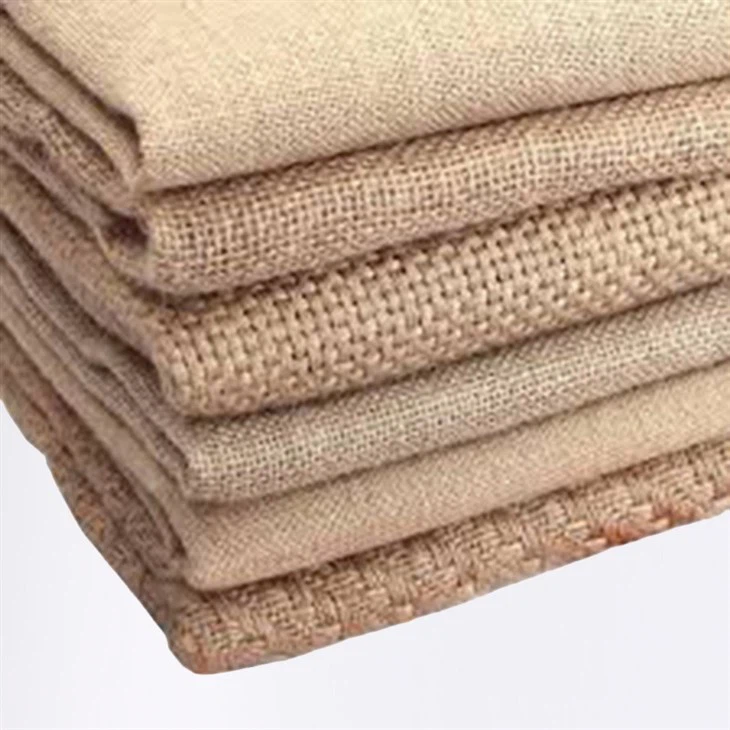
Hessian burlap is a natural, coarse fabric made from jute fibers. It has a rustic, earthy look that gives stuffed animals a warm and inviting appearance. One of the main advantages of using burlap is its durability. It can withstand a fair amount of handling, making it suitable for children's toys. Additionally, burlap is an eco - friendly option as jute is a renewable resource.
We offer a wide range of burlap fabrics, including Jute Burlap Fabric, 40Inch Burlap Landscape Fabric, and Garden Burlap Fabric. These fabrics vary in texture, thickness, and color, allowing you to choose the perfect one for your stuffed animal project.
Preparing Your Materials
Before you start sewing the features on your hessian burlap stuffed animal, you'll need to gather the necessary materials. Here's a list of what you'll need:
- Hessian Burlap Fabric: Choose a fabric that suits the size and style of your stuffed animal. You can use our Jute Burlap Fabric for a classic look.
- Thread: Select a thread color that complements the burlap. A neutral color like brown or black usually works well.
- Needles: Use a sharp, medium - sized needle for sewing the features.
- Stuffing Material: Polyester fiberfill is a popular choice for stuffing stuffed animals.
- Scissors: A good pair of scissors for cutting the fabric and thread.
- Marking Tools: You can use a fabric marker or a piece of chalk to mark the placement of the eyes and other features on the burlap.
- Eyes and Other Features: You can use plastic safety eyes, buttons, or embroidered details for the eyes. For other features like noses and mouths, you can use felt, fabric scraps, or embroidery.
Sewing the Eyes
- Mark the Placement: Use your marking tool to mark the position where you want to place the eyes on the stuffed animal's face. Make sure the eyes are evenly spaced and at the right height.
- Attach the Eyes:
- Plastic Safety Eyes: If you're using plastic safety eyes, they usually come with a back piece. Insert the front part of the eye through the burlap fabric from the front side. Then, from the back side, place the back piece over the front part and press firmly until it clicks into place. Make sure the eyes are securely attached.
- Buttons or Embroidered Eyes: For buttons, you can sew them onto the burlap using a running stitch. Start by threading your needle and tying a knot at the end. Insert the needle through the burlap from the back side and bring it up through the center of the button hole. Then, pass the needle through the other button hole and back through the burlap. Repeat this process a few times to secure the button. If you're embroidering the eyes, you can use a satin stitch or a French knot to create the eye shape.
- Check the Alignment: Once the eyes are attached, step back and check the alignment. Make any necessary adjustments to ensure the eyes look straight and centered.
Adding Other Features
Noses
- Felt Noses: Cut a small triangle or oval shape from felt. Place it on the burlap where you want the nose to be and sew it in place using a running stitch or a blanket stitch.
- Embroidered Noses: You can use embroidery thread to create a simple nose shape. A small straight stitch or a curved stitch can work well for this.
Mouths
- Fabric Scraps: Cut a small strip of fabric and shape it into a mouth. Sew it onto the burlap using a running stitch.
- Embroidery: You can use a single stitch or a series of stitches to create a mouth. A smiley face can be made with a curved stitch, while a straight line can represent a more serious expression.
Finishing Touches
After sewing the eyes and other features, you can add some finishing touches to your hessian burlap stuffed animal. You can use embroidery to add details like eyebrows, whiskers, or freckles. You can also add a collar, a bow, or other accessories to make your stuffed animal more unique.
Tips for Sewing on Burlap
- Use a Backstitch: When sewing on burlap, it's a good idea to use a backstitch at the beginning and end of each seam to prevent the thread from coming loose.
- Be Gentle: Burlap is a coarse fabric, but it can still tear if you pull the thread too tightly. Be gentle when sewing to avoid damaging the fabric.
- Test Your Stitches: Before sewing the features on the actual stuffed animal, test your stitches on a scrap piece of burlap to make sure you're happy with the results.
Conclusion
Sewing the eyes and other features on hessian burlap stuffed animals is a fun and rewarding process. With the right materials and techniques, you can create unique and charming stuffed animals that will be loved by both children and adults. As a hessian burlap fabric supplier, we're committed to providing you with high - quality fabrics that will bring your stuffed animal projects to life.
If you're interested in purchasing our hessian burlap fabrics for your next stuffed animal project, we encourage you to contact us for a purchase negotiation. We're here to help you find the perfect fabric for your needs and offer you the best prices in the market.

References
- Smith, J. (2018). The Art of Stuffed Animal Making. Creative Crafts Publishing.
- Johnson, A. (2020). Burlap Fabric: A Guide to Its Uses and Benefits. Textile Trends Magazine.